
Vibe Coding for Beginners: The Ultimate Easy Weekend Guide
Introduction
Key Takeaways
- Vibe coding for beginners lets you build apps by describing what you want in plain language — AI writes the code
- You can create a working prototype in a weekend with the right focus and tools
- The method works best when you keep scope tight and iterate quickly
- No traditional coding experience required, just clear thinking about what you need
- Start small, ship fast, and let feedback guide your next iteration
Vibe coding for beginners has become one of the fastest-growing trends in app development. The premise is simple: you describe what you want in natural language, and an AI tool writes the code for you. Non-coders are building real applications with nothing more than an idea and the right AI assistant.
When I first tried vibe coding, it seemed cryptic — something only experienced developers could pull off. But the promise of building something tangible over a weekend was too compelling to ignore. One Friday evening, armed with curiosity and coffee, I set out to create my first app using this approach.
The key is structure. I divided my weekend into learning and implementing phases. A few hours on fundamentals, then straight into prototyping. The real power of vibe coding lies in its simplicity — cutting through noise to deliver a working solution efficiently.
This guide walks you through the same process. By Sunday night, you'll have a working app. It won't be perfect, but it will be yours, and it will work.
Explore vibe coding for beginners and learn how to create your first app in just a weekend.
Understanding Vibe Coding for Beginners
Vibe coding for beginners is building software by describing what you want while AI tools write the code. Instead of typing every line yourself, you explain your intent in natural language and guide the process. The machine handles syntax, boilerplate, and structure—you handle direction.
This approach has opened software development to people without traditional coding backgrounds. According to industry research, AI-assisted development tools have reduced the time to first prototype by up to 60% for non-technical builders. You don't need to memorize frameworks or debug cryptic errors for hours. You need clarity about what you're building and enough patience to iterate when the AI misunderstands.
Why It Matters for Beginners
Traditional coding demands months of syntax practice before you ship anything useful. Vibe coding collapses that timeline. You can prototype a working app in a weekend if you plan well and keep scope tight.
The shift is from writing code to writing requirements. Your job becomes defining problems clearly, testing outputs, and refining prompts when results miss the mark. That's a skillset most people already have—they just don't realize it translates to software.
What Vibe Coding Is Not
It's not a magic wand. You can't describe a vague idea and expect a polished product. The AI will build exactly what you ask for, which means unclear prompts produce unclear software. Garbage in, garbage out.
It's also not a replacement for learning how systems work. If you don't understand databases, APIs, or state management at a conceptual level, you'll struggle to debug when things break. Vibe coding lowers the barrier to entry, but it doesn't remove the need to think like a builder.
For a deeper look at how this approach fits into the broader development landscape, see Vibe Coding: The Complete Guide for Stress-Free Development.
Planning Your Weekend
You have 48 hours. The difference between a working app and a half-finished mess is how you carve those hours. Most beginners blow Saturday morning on tool research and Sunday night on panic. Structure the weekend into three blocks: spec, build, test.
Friday Night: Write the Spec
Before you touch a code editor, write a plain-English spec. Who is the app for? What are the 2–4 main features? What data does it handle? What does "done" look like? This takes 30–60 minutes and stabilizes everything that follows. A short Product Requirements Document focused on one MVP feature gives the AI rules to follow—without it, you're debugging hallucinations all weekend.
Saturday: Build the Core
Saturday morning through mid-afternoon is for generating the skeleton. Prompt the AI with context, goal, constraints, and definition of done—this four-part structure cuts rework. By Saturday evening, you should have one feature working end-to-end. If you don't, scope was too wide; cut a feature and finish what's left.
Sunday: Iterate and Close
Sunday is for testing, fixing the obvious breaks, and deciding what ships. You won't have time for polish. The goal is a working prototype you can demo to one person without apologizing. If it runs and solves the problem you scoped Friday night, you're done.
Step 1
Block your calendar
Mark Friday 7–8 PM for the spec, Saturday 9 AM–5 PM for building, Sunday 10 AM–3 PM for testing. Treat these as hard appointments—context-switching kills momentum.
Step 2
Set a feature ceiling
Pick one hero feature and two supporting actions. Anything beyond that goes on a backlog you'll ignore. Scope creep is the weekend killer.
Step 3
Prepare your environment Friday
Install tools, create accounts, verify API keys before Saturday. You don't want to burn two hours on OAuth setup when you should be prompting.
The tighter the plan, the less you'll drift. Most vibe coding failures trace back to fuzzy Saturday mornings.
Essential Tools and Resources
Vibe coding for beginners doesn't need a heavy toolchain. You need an AI that understands code, a runtime that handles setup for you, and a way to iterate fast. The market moves quickly—new tools appear weekly—but three categories stay stable: AI assistants that write code, environments that run it, and scaffolding platforms that do both.
Choosing Your AI Assistant
Claude Code is optimized for coding tasks. It edits multiple files in one pass and asks before making changes. You describe what you want, it writes the code, you approve or reject. The consent loop keeps you in control while the assistant does the heavy lifting.
ChatGPT works too, especially for smaller scripts or single-file prototypes. The key difference is workflow: Claude handles multi-file projects more cleanly, ChatGPT excels at explaining concepts and debugging isolated functions. Pick based on your project scope—if you're building a single-page app, either works; if you're managing routes, components, and state, Claude's file-handling saves time.
Scaffolding Platforms for Beginners
Replit Agent handles setup automatically. You can tell it "Create a todo app using React and Tailwind with an input field, a submit button, and a list below" and it scaffolds a working starting point. No local install, no dependency hell, no wrestling with Node versions. You get a browser-based editor, a live preview, and version control baked in.
Google's Opal takes a different approach: paint-by-numbers templates. You see what others have built, pick a template, and modify it. If you've never written a line of code, this lowers the first-step friction. The tradeoff is less control—you're customizing someone else's structure instead of defining your own.
Supporting Resources
You'll need documentation for whatever framework the AI picks—usually React, Next.js, or vanilla JavaScript. Bookmark the official docs. When the AI generates code you don't understand, paste the snippet into the docs' search bar. You're not trying to memorize syntax; you're building a mental map of what's possible.
For styling, Tailwind's utility-first approach pairs well with vibe coding. You describe the layout in natural language ("center the button, make it blue, add padding"), the AI translates that into Tailwind classes, and you see the result immediately. No separate CSS file, no naming conflicts, no cascade surprises.
If you want a deeper foundation before your weekend sprint, Vibe Coding 101: How Non-Technical Founders Build Real Apps With AI walks through the conceptual model that makes these tools effective. The tools change, but the loop—describe, generate, test, refine—stays constant.
Creating a Prototype
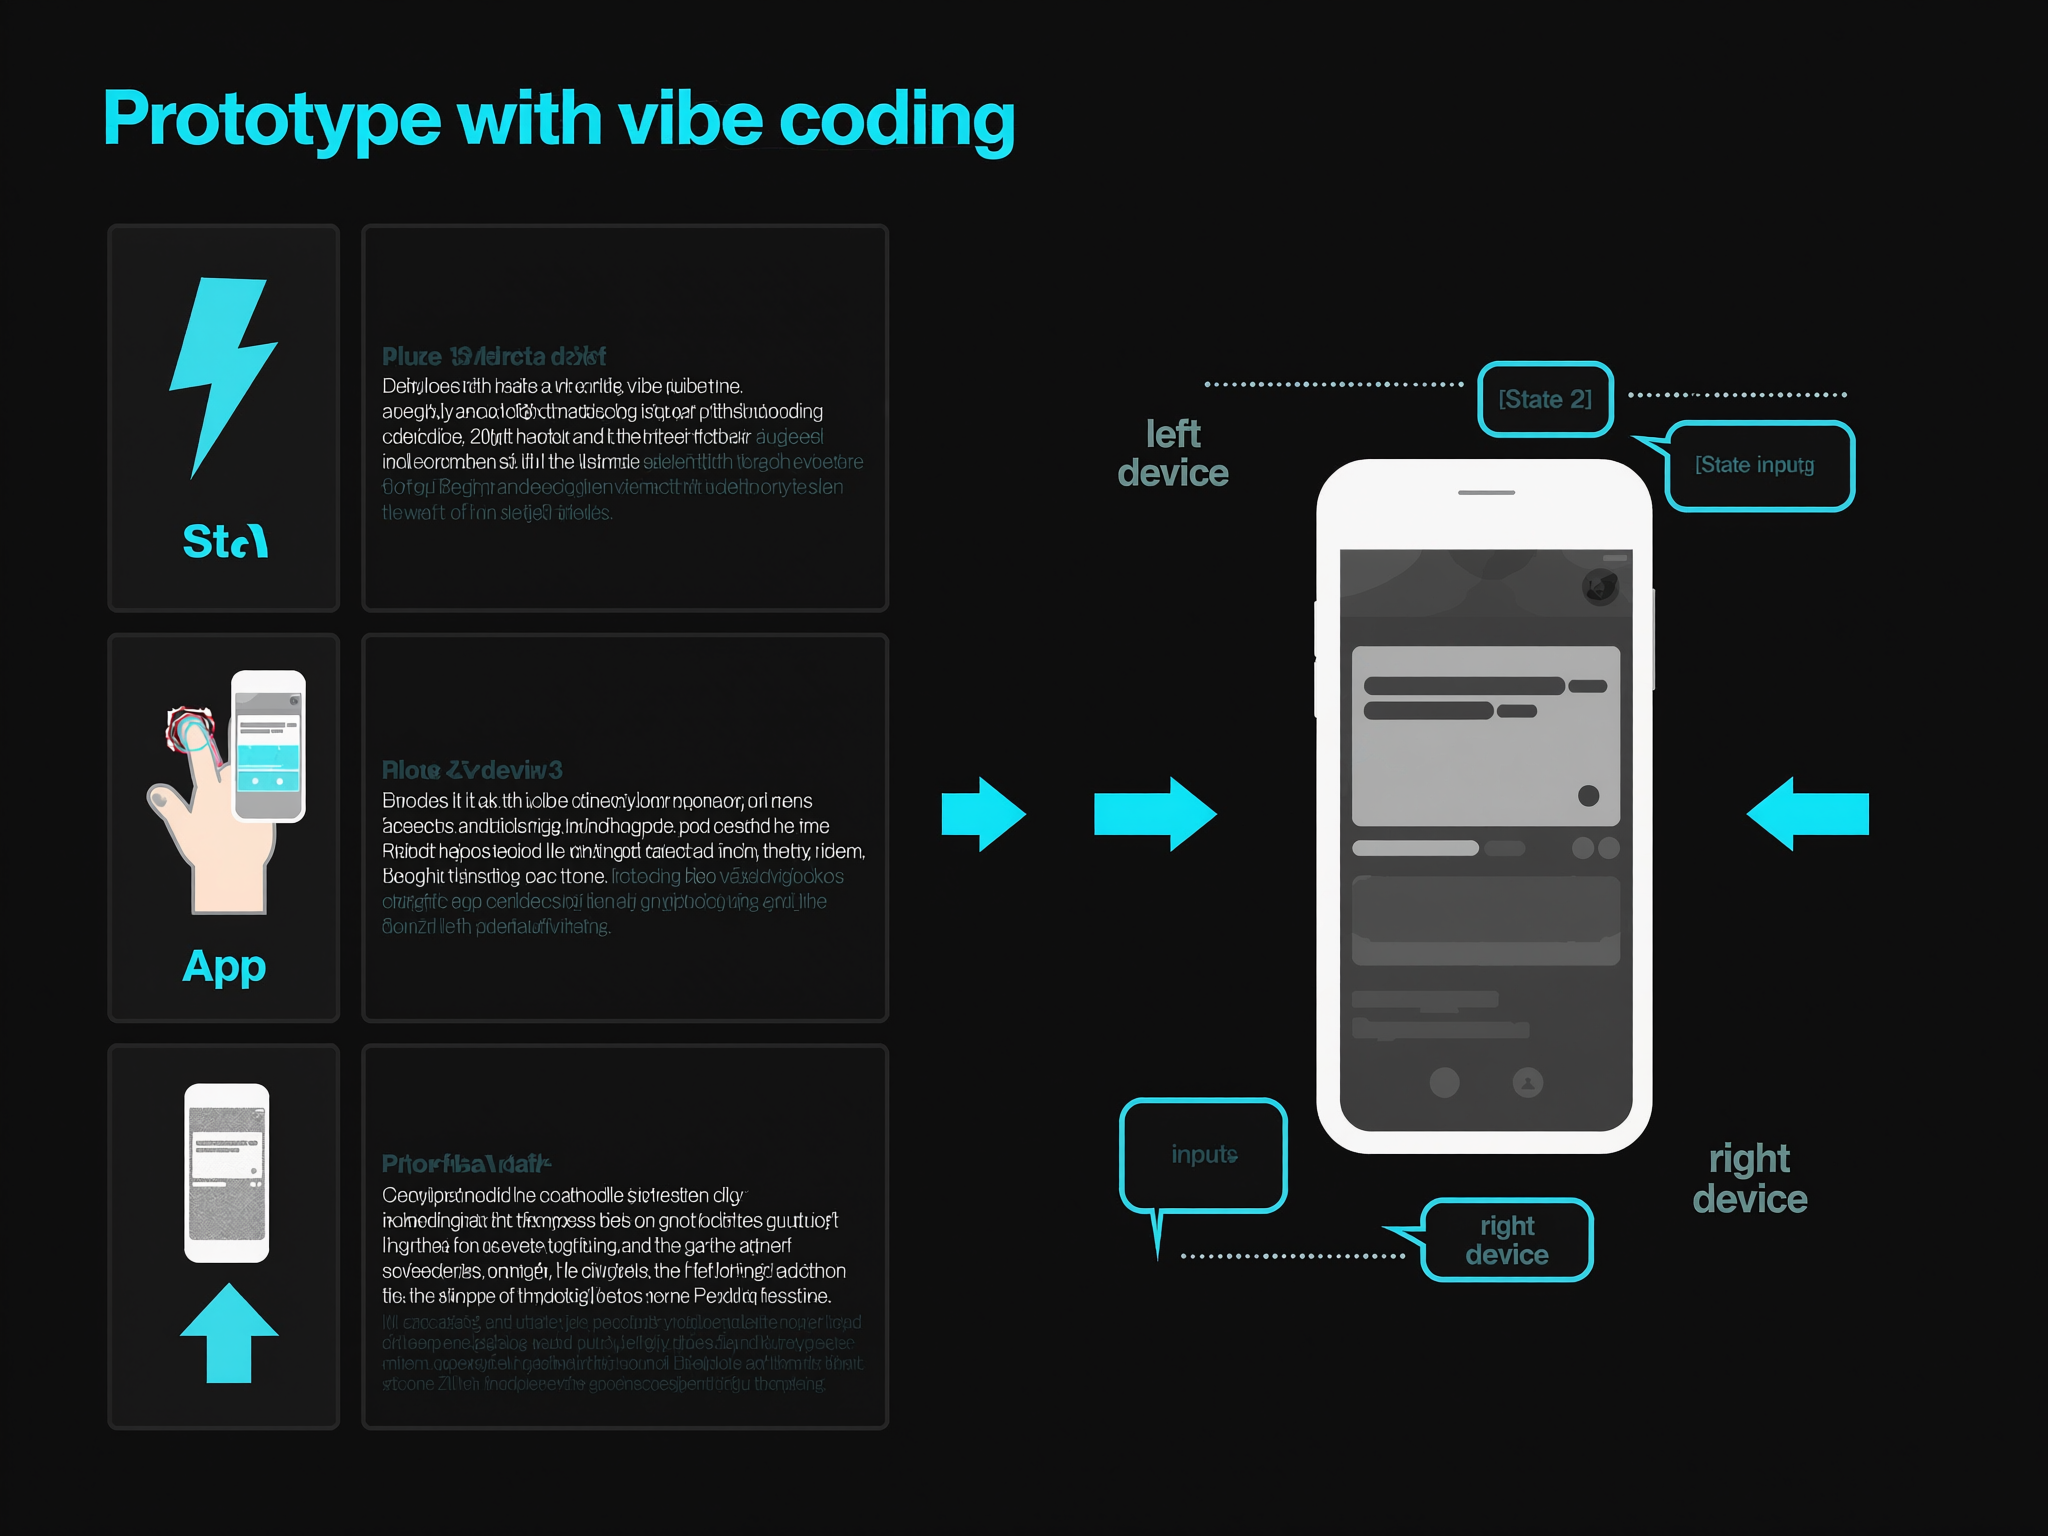
Prototyping is where vibe coding for beginners shows its teeth. You're building something that works, not something that looks good on paper. The goal is a functional piece of software you can click through by Sunday evening.
Start With One Core Flow
Pick the smallest path through your app that delivers value. If you're building a task manager, that's adding a task and marking it done. If it's a recipe finder, that's searching and viewing one result. Everything else is decoration.
Write out the flow in three to five steps. User opens app, user clicks button, user sees result. That's your prototype scope. Anything that doesn't serve this flow gets cut.
Build in Short Cycles
Vibe coding works best in tight loops. You describe what you want, the tool generates code, you test it immediately. When something breaks—and it will—you fix it in the next cycle, not three hours later.
The two feedback loops that matter are plan-review-fix and implement-review-fix. Plan what the next piece should do, review whether it matches your flow, fix the gap. Then implement it, review whether it actually works, fix what broke. Keep the cycles under thirty minutes.
Step 1
Describe the feature
Tell your coding tool what you want in plain language. Be specific about inputs and outputs. "Add a button that saves the user's name to local storage" beats "make it save stuff."
Step 2
Generate and review
Let the tool write the code. Read through it quickly—you're checking for obvious mistakes, not auditing every line. Does it match what you asked for?
Step 3
Test immediately
Run the app. Click the button. Does it do what you expected? If yes, move to the next feature. If no, note what broke and loop back to step one.
Expect to Rebuild Small Pieces
Prototypes are disposable by design. You'll write something, realize it doesn't fit the next feature, and rewrite it. That's normal. The faster you accept that some code won't survive the weekend, the faster you'll finish.
One builder created an interview coach app and had to completely rebuild it when extending the initial prototype. The first version worked, but the foundation couldn't support the next layer. Rebuilding early is cheaper than rebuilding late.
Keep Your Scope Honest
Every hour you spend on a feature that isn't part of your core flow is an hour you don't have for the features that are. When you're tempted to add user profiles or dark mode or email notifications, write it down for version two and keep moving.
For more structured approaches to planning what goes in your prototype, see What Is a PRD? A Plain-English Guide for Non-Technical Founders.
By the end of Saturday, you should have something you can click through without it crashing. It won't be pretty, but it will prove the concept works. That's the only milestone that matters for a weekend build.
Iterating and Testing
Your prototype exists. Now the real work starts. Most beginners skip iteration because the first version feels done—it runs, it looks like the sketch, you can click through it. But iteration is where you find the gaps between what you built and what actually works.
Test Each Step Before Moving On
Don't stack changes. Test one feature, confirm it behaves as expected, then move to the next. If you add three features in one session and something breaks, you'll waste an hour isolating which change caused it. Version control matters here—commit after every working increment so you can roll back cleanly.
Run the app as a user would. Click every button. Submit forms with bad data. Leave fields blank. Try it on a phone if it's supposed to work on mobile. Write down what breaks and what feels clunky—don't trust your memory.
Clarity Cuts Iteration Time
If you mapped user flows and failure cases during planning, iteration moves faster. You already know what "add item" should do when the list is empty versus full. You know where the app should redirect after login. Research shows that clarity on user flow, failure cases, and integration targets can cut iteration time in half during MVP sprints.
When something doesn't work, resist the urge to rewrite everything. Isolate the problem. Check one variable. Fix it. Test again. Iteration is surgical, not scorched-earth.
For a deeper look at structuring your approach from the start, see Vibe Coding: The Complete Guide for Stress-Free Development.
Feedback From Real Users
By Sunday afternoon, show the app to someone who isn't you. They'll find issues you've become blind to. Watch them use it—don't explain anything. If they hesitate or click the wrong thing, that's a design problem, not a user problem.
Iteration isn't about perfection. It's about closing the gap between what you intended and what you shipped. Test, fix, test again. That loop is the entire game.
Finalizing Your App

You have a working prototype. The core features respond. Users can complete the main flow without hitting a wall. Now the question is how to close the gap between "it works on my machine" and "it's ready for strangers to use."
Strip Out Debug Scaffolding
Remove console logs, test buttons, and placeholder text that served you during development. Anything that says "TODO" or "test data" goes. Clean interfaces signal polish; leftover debug clutter signals abandon-ware.
Lock Down Permissions and Keys
If your app touches external APIs or user data, audit every credential. Rotate any keys you pasted into chat transcripts or shared screens. Set environment variables for production secrets—never hard-code them into source files.
Write a One-Page User Guide
Document the happy path: what the app does, how to start, what each button means. Keep it to one screen of text. If you need more than that, your interface probably needs simplification, not a longer manual.
Step 1
Draft the guide in plain language
Write as if explaining to someone who has never seen the app. Avoid jargon. Use screenshots only when a visual clarifies something words cannot.
Step 2
Test the guide with a stranger
Hand the guide to someone outside your project. Watch them try to use the app without your help. Every question they ask is a gap in your documentation or your design.
Prepare a Rollback Plan
Before you deploy, know how to undo it. Save a snapshot of the working state. Write down the exact steps to revert if the launch version breaks. The best launch is one you can reverse in under five minutes.
Set a Launch Window
Pick a two-hour block when you can monitor the app actively. Avoid Friday nights or moments when you'll be unavailable. If something breaks in the first hour, you want to catch it while you're still caffeinated and focused.
The gap between "done" and "launched" is smaller than you think—it's mostly about removing what doesn't belong and documenting what does.
For a deeper look at structuring your app's foundation before you reach this stage, see What Is a PRD? A Plain-English Guide for Non-Technical Founders.
Finalization is not about adding features. It's about confirming that what you built survives contact with real users. Clean, documented, and reversible beats feature-rich and fragile every time.
Common Challenges
Most beginners fail because they spend too long comparing tools, choose a project that is too big, and ask the AI for too much in one prompt. You spend Friday night reading reviews instead of writing code. You design a marketplace when you need a contact form. You paste a 500-word spec and get 300 lines of broken JavaScript.
Tool Paralysis
Use one editor. Pick VS Code or Cursor and stop reading comparisons. Set up Git on day one—one repository, one branch, commits after every working feature. The best tool is the one you actually open.
Scope Creep
Define what "done" means before you write a single line. A weekend app has three features, not ten. If you catch yourself saying "and it should also," you're already off track. Write the three things your app must do, then build only those.
Prompt Overload
Test each step before moving on. Ask for one function, verify it works, then ask for the next. A 50-line prompt produces 50 lines of untested code. A 10-line prompt produces 10 lines you can actually debug. Small requests, fast loops.
For a deeper look at structuring your approach, see Vibe Coding: The Complete Guide for Stress-Free Development.
Who Should Choose Vibe Coding
Vibe coding for beginners suits people who need working software fast and don't want to spend months learning traditional development. If you have an idea and want to test it by next week, this approach removes the barrier between concept and prototype.
Non-technical founders building their first SaaS product are the core audience. You know what problem you're solving, you understand your users, but you lack the code skills to build a solution yourself. Vibe coding lets you translate business logic into software without hiring a dev team upfront.
Solo Operators and Side-Project Builders
Anyone working alone on evenings and weekends benefits from the speed. You can ship a functional MVP in a weekend, gather user feedback, and iterate before committing serious resources. The method rewards clarity of vision over technical depth.
Small business owners who need custom internal tools also fit the profile. If you're automating a workflow or building a client portal, vibe coding delivers utility without the overhead of formal development cycles.
When Traditional Coding Makes More Sense
Vibe coding is not for teams building regulated systems, high-scale platforms, or products where security and performance are non-negotiable from day one. If your app handles sensitive data or needs to support thousands of concurrent users, invest in proper engineering.
It's also a poor fit if you enjoy the craft of coding itself. Developers who want control over architecture, optimization, and deep technical decisions will find the AI-assisted approach limiting. Vibe coding optimizes for speed and iteration, not for mastery of the underlying stack.
The right user for vibe coding for beginners is someone who values a working prototype today over a perfect codebase tomorrow.
If you're comfortable with ambiguity, willing to iterate based on what the AI produces, and focused on solving a real problem rather than learning to code, this method will accelerate your progress. For a deeper dive into how non-technical founders use AI to build real apps, see Vibe Coding 101: How Non-Technical Founders Build Real Apps With AI.
Conclusion
Vibe coding for beginners has moved from novelty to a legitimate path for building software. Non-coders can now create real products with nothing more than an idea and an AI tool. You've seen the structure: plan your weekend, pick the right tools, prototype fast, iterate on feedback, and ship something that works. The barrier to entry is lower than it's ever been.
The process I walked through—Friday learning, Saturday prototyping, Sunday refining—proved that a working app in a weekend is achievable. It won't be perfect, but it will be yours, and it will function. The real power of vibe coding for beginners lies in cutting through noise to deliver a working solution efficiently. Start small, iterate, and let the process guide you.
If you're ready to dive deeper into the fundamentals and best practices, read our Vibe Coding: The Complete Guide for Stress-Free Development. The satisfaction of seeing your creation come to life in just a weekend is unparalleled. Pick a simple idea, block out the time, and build it.